How to Add Captions to Facebook Videos: A Simple Step-by-Step Guide

Captions can make a huge difference in how people engage with your Facebook videos. Whether you’re a content creator, a business owner, or just sharing a fun clip with friends, adding captions ensures that your message is clear – even when the sound is off. Plus, captions improve accessibility, making your videos more inclusive for viewers who are deaf or hard of hearing.
The process of adding subtitles on Facebook might seem intimidating. Not sure how to add captions to your Facebook videos? Don’t worry – it’s easier than you think! In this guide, we’ll walk you through the step-by-step process of adding captions, whether you want to do it manually or let Facebook generate them for you. Keep reading to learn how to enhance your video content and connect with a wider audience!
Table of Contents
Why Add Captions to Facebook Videos
Adding captions to your Facebook videos can be a game-changer for your video content. Captions can boost engagement, make your videos more accessible, and even improve video performance. Here’s why they matter:
Improve Accessibility and Inclusivity
Captions ensure that people who are deaf or hard of hearing can fully enjoy and understand your videos. By adding text to your content, you create an inclusive experience, allowing a broader audience to engage with your message. Accessibility isn’t just a bonus – it’s essential for making any social media site a space where everyone can participate equally.
Capture Attention in a Sound-Off World
Did you know that most Facebook videos are watched without sound? Many users scroll through their feeds in public places, at work, or they simply prefer silent viewing. Captions help you hold their attention and communicate your message, even if they never turn the volume up. Without captions and a proper preview visual, your video risks being overlooked.
Boost Engagement and Watch Time
Videos with subtitles tend to have higher engagement rates, including more likes, shares, and comments. Why? Because captions keep users watching longer! When people can read along, they’re more likely to stay engaged with your content instead of scrolling away. More watch time also signals to Facebook’s algorithm that your video is valuable, which can help increase its reach.
Improve SEO and Discoverability
Captions can make your videos easier to find. Facebook’s algorithms can process text in videos, meaning that captions can help your content appear in search results. If you’re using relevant keywords, you increase the chances of reaching your target audience organically. Plus, captions can be repurposed as video descriptions or subtitles for other platforms, giving your content even more visibility.
By adding captions to your Facebook videos, you’re not just improving accessibility. You’re also making your content more engaging, discoverable, and effective. It’s a small step that can have a big impact on how your audience connects with the messages on your Facebook page. Now, let’s explore the easiest ways to add subtitles to your videos!
How to Add Captions to Videos on Facebook
Facebook offers several ways to caption your videos, whether you prefer automatic generation, manual uploads, or on-screen text. Here’s how you can do it:
Automatically Add Captions with Facebook’s Features
Facebook provides an automatic captioning tool that generates captions for your videos. While they may not be 100% accurate, auto-generated captions are a quick and easy option that you can edit afterward.
Step 1. Upload Your Video to Facebook
Start by creating a new post and uploading your video. Once the video is processed, click on the Edit Video option before publishing it.
Step 2. Enable Automatic Captions
Look for the Captions tab in the video settings. Select the option to auto-generate captions. Facebook will process the audio and create captions automatically.
Step 3. Review and Edit the Captions
Auto-generated captions aren’t always perfect, so review the generated text for accuracy. You can manually edit captions directly in the editor before saving your changes.
Step 4. Save and Publish Your Video
Once you’re satisfied with the captions, save your edits and publish the video. Viewers will now see captions when they watch without sound.
Uploading a Captions File
If you want full control over your captions, you can create and upload an SRT (SubRip Subtitle) file. This method ensures maximum accuracy and allows you to format the text exactly as you want.
Step 1. Prepare Your File
Create your captions using a text editor or a specialized captioning tool. Make sure to format them properly with timestamps and save them with a “.srt” extension.
Step 2. Upload the Video to Facebook
Go to your Facebook page or profile, start a new post, and upload your video. Before publishing, open the Edit Video settings.
Step 3. Add Your Captions
In the Captions section, select the option to load an SRT file. Choose your prepared file and make sure it’s named correctly, following Facebook’s formatting guidelines.
Step 4. Publish the Video
Once uploaded, preview your video to ensure the captions are displaying correctly. Apply the changes and publish the post. And you’re done!
Using a Third-Party Tool
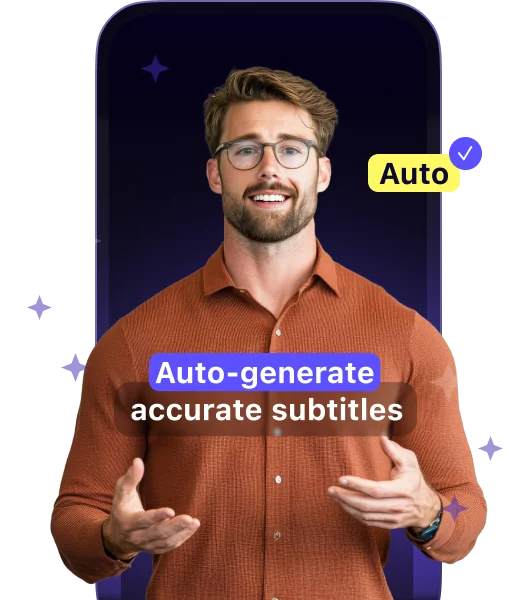
If you want even more customization, third-party software like the Dubs app can generate captions with advanced editing features.
Step 1. Load Your Video
Insert your video to Dubs from your camera roll. After that, select the language and let the tool automatically generate captions for you. If you want, you can also add them manually.
Step 2. Edit and Customize Captions
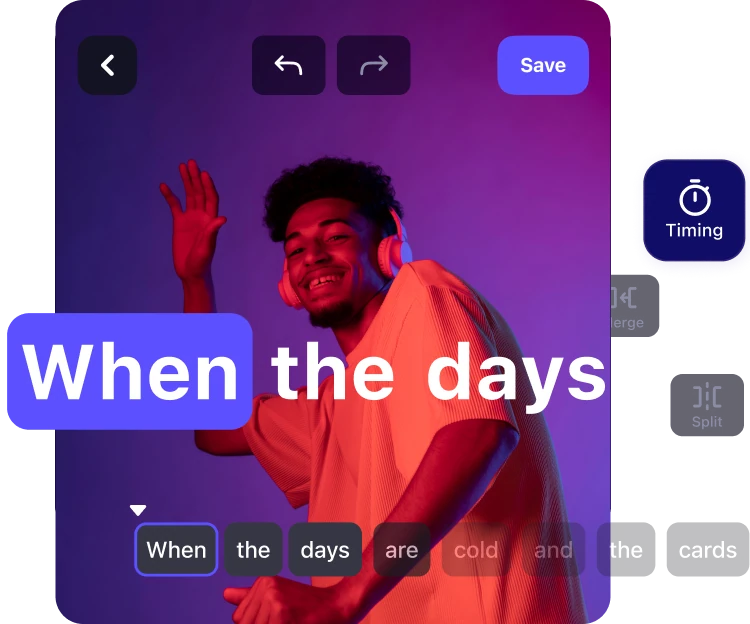
Once you’re here, you can easily edit text and adjust the positioning, timing, and styling of the captions.
Step 3. Save Your Captions
You can export the captions as an SRT or burn them directly into the video. Each option has its advantages and disadvantages – we have a whole article on these, so make sure to check it out!
Step 4. Post to Facebook
Once your subtitles are ready, you can either upload the captioned video directly to Facebook or upload the subtitles file following the steps we’ve described before.
Each method has its benefits, so choose the one that works best for your content. Now that you know how to add captions, you’re ready to make your videos more accessible, engaging, and effective on Facebook!
How to Edit Captions on Facebook Videos
Once you’ve added captions to your Facebook video, you might need to make adjustments, whether to fix a typo, fine-tune the timing, or improve readability. Editing captions depends on how you added them in the first place. Below, we’ll cover how to edit subtitles for each method.
Editing Facebook’s Auto-Generated Captions
If you captioned your video automatically, you can manually edit the captions to correct any mistakes. To do that, simply go to the Videos section, find the video you want to edit, and select Edit Video from the drop-down menu. Once you’re there, go to the Captions tab and click on the text box where the captions appear. This is where you can click on any caption to edit the text. After making your edits, click Save to apply the changes. The updated captions will now appear on your video.
Editing an Uploaded SRT Caption File
If you used an SRT and need to make changes, you’ll have to replace the it with a new one. If you don’t have the original file, download it from Facebook: for this, select the video, click Edit Video, go to the Captions menu, and download the existing one if available. You can open it in a text editor or subtitle tool and make the necessary changes to the text or timing. Once you’re done, go back to the Edit Video screen on Facebook and delete the existing SRT file from the Captions menu. Click Upload and select your updated file, then apply the changes, and your video will now display the corrected captions.
Editing Captions from a Third-Party Software
If you created captions using the Dubs app, you’ll need to edit them on that platform before re-uploading. This is simple: load your video project and edit the text or timing of the captions. Then, click Save and export either a new .SRT file (if you plan to re-upload to Facebook) or a burned-in captioned video (if you prefer captions permanently embedded). After that, all you need to do is follow the steps in the SRT method above if using a new caption file or simply re-upload your video.
Tips for Adding Captions to Facebook Videos
Adding captions is all about making your content engaging, readable, and accessible. Keep these tips in mind to ensure your captions enhance your videos:
- Keep captions concise and easy to read. Avoid long sentences that take too much time to read on-screen. Break up text into short, digestible lines for better comprehension.
- Use proper punctuation and grammar. Captions without punctuation can be confusing and difficult to follow. Make sure to add commas, periods, and question marks where needed to maintain clarity.
- Ensure captions sync with the audio. Poorly timed captions can make your video frustrating to watch. If using auto-generated captions, double-check that the timing aligns with spoken words and key moments on the screen.
- Consider adding captions manually for accuracy. While Facebook’s auto-captioning is convenient, it’s not perfect. If your video includes technical terms, accents, or fast speech, manual captions can improve precision.
- Use high contrast for burned-in captions. If you’re adding captions directly to the video, choose a text color that stands out against the background. White text with a black outline is a common choice for readability.
- Add captions in multiple languages if needed. If your audience is multilingual, consider uploading captions in different languages. This can expand your reach and improve the viewer experience for non-native speakers. This is one of the core features the Dubs app offers.
- Test captions on mobile devices. Most social media users watch videos on their phones, so ensure your captions are large enough to read on smaller screens without obstructing important visuals.
By following these best practices, you’ll make your Facebook videos more engaging, accessible, and user-friendly, which, ultimately, gives them a chance to go viral. Hope this guide proves helpful to you! Now that you’re equipped with all the knowledge, go ahead and start captioning your social media videos like a pro!
More articles

150+ Best Vacation Instagram Captions to Make Your Travel Photos Pop
Planning your dream vacation is exciting, but finding the perfect words to accompany those stunning photos can be challenging. Whether you’re lounging on a tropical beach, exploring ancient ruins, or hiking breathtaking mountains, the right caption can elevate your Instagram post from ordinary to unforgettable. You’ve packed your bags for the family vacation, created memories, […]

175+ Unforgettable Prom Instagram Captions to Make Your Night Shine | 2025 Edition
Capturing the magic of prom night on Instagram requires more than just stunning photos – you need the perfect caption to complete your post. Whether you’re looking for something sentimental, funny, referencing your favorite song lyrics, or the photos from the dance floor, the right words can make your prom memories shine even brighter on […]

200+ Beach Instagram Captions: From Funny to Inspirational Quotes
Looking for the perfect words to pair with your beach photos? You’re not alone. A day at the shore isn’t truly complete until you’ve captured those sun-soaked moments and shared them with a caption that perfectly complements your vibe. Whether you’re posting golden hour selfies, documenting beach games, or showcasing those “sunkissed nose, sandy toes” […]


